Hurrah for Convergence®
Marcy Petrini
August, 2016
I just finished my scarf using the Convergence® yarn in the wood violet color way.
Oh, wait, I am a month late! Oh, well, I guess my scarf is ready for the next one!
I don’t know where the next one will be, but two things I know: HGA’s Executive Director Liz Williamson is working hard to make sure that the conference is as affordable as possible; some convention cities offer more perks than others, so it behooves us to go where they make an offer we can’t refuse. The other thing is that I have never been to a Convergence® – and I have been to all of them since 1982 – where the locale didn’t have something unique in art, architecture, food, etc. I just embrace what the place has to offer. In Milwaukee, I drank beer – I am not much of a beer drinker, but when in Rome…. Besides, most of the excitement is with the Convergence® itself. I am looking forward to the next one, wherever it may be.
Convergence® 2016 was a wonderful experience for me. The exhibits, fashion show, market place, they are always good. The Small Expressions exhibit at the art museum was great, and I loved that museum, those wings opening were phenomenal. It is always fun to see old friends and make new ones. I took Judy Dominic’s studio on soft books and it was inspirational. I haven’t quite gotten to work on finishing my books, but I will. I have tried the pin loom that I bought and the sea silk yarn I purchased will probably go on the loom next (the loom that still has the other Convergence scarf!).
There were two things that really stood out for me. The first was the atmosphere – the excitement, people smiling and carrying on with abundant energy even though I know that, by Friday, everybody was tired; the spirit of sharing, whether it was a mint or a tip on warping; and the rolling-up-our-sleeves-and-make-it-happen attitude, which started with the staff and it became contagious. Perhaps I am wrong, but it seemed that clearing out of the convention center for HGA – the exhibits and the booth – went a lot faster than I can remember in the past. Staff, Board members and volunteers all working together – after all, WE are HGA!
I was walking to my seminar one morning along with an attendee and here comes the loom moving squad. I said hello to them and then I said to the attendee: “it’s not in too many organizations where you see Board members actually doing manual labor.” “They are Board members?” she asked; “Yes, Penny Morgan, your president-elect, and Kathy Perito, your fist vice-president elect. Go, girls!”
The other thing that stood out for me was personal; I loved teaching all 5 of my seminars. I did get tired by Friday, but it was all worth it. Teaching is very rewarding when the students are attentive, ask great questions, and anticipate what comes next. But nothing comes close to the excitement I feel when I look at the audience and I can tell that somebody made the connection: the proverbial light bulb went on! Wow! Nothing can beat that feeling.

Please email comments and questions to
Countdown to Convergence®
Marcy Petrini
July, 2016
Next month at this time, I will be at Convergence® in Milwaukee, Wisconsin. I am not quite ready yet, but I will be by the time we are set to leave.
Between seminars, studio classes, and a super-seminar, I have five to teach and, to date, over 140 participants. I am truly excited.
That translates to over 12,000 pages to print! Each participant receives at least a monograph and they range from some 50 pages to over 100. The printing has begun – but it’s my husband Terry who is printing, punching and binding. Being organized is the key to getting it done.
Now that I am close to the finish line, here are some highlights of the various presentations.
I am finished with the monograph for Four to More; that will be on Wednesday morning. I have woven some samplers for it and I have written about them in previous blogs. But here is a fancy basket weave on eight shafts that was an early piece on eight shaft I wove.

For the Interaction of Structure and Function on Thursday: twills, silk and shawls seem perfect for each other. Then again, how about this silk shawl with huck lace stripes?

Weaving Errors will be on Friday morning. Those topics, too, have been discussed in previous blogs. But here is a picture from the series on how to fix a broken warp thread. The replacement warp end is shown in gold to make it obvious. Pictorial steps by steps should make it easier for participants to fix them in the future.

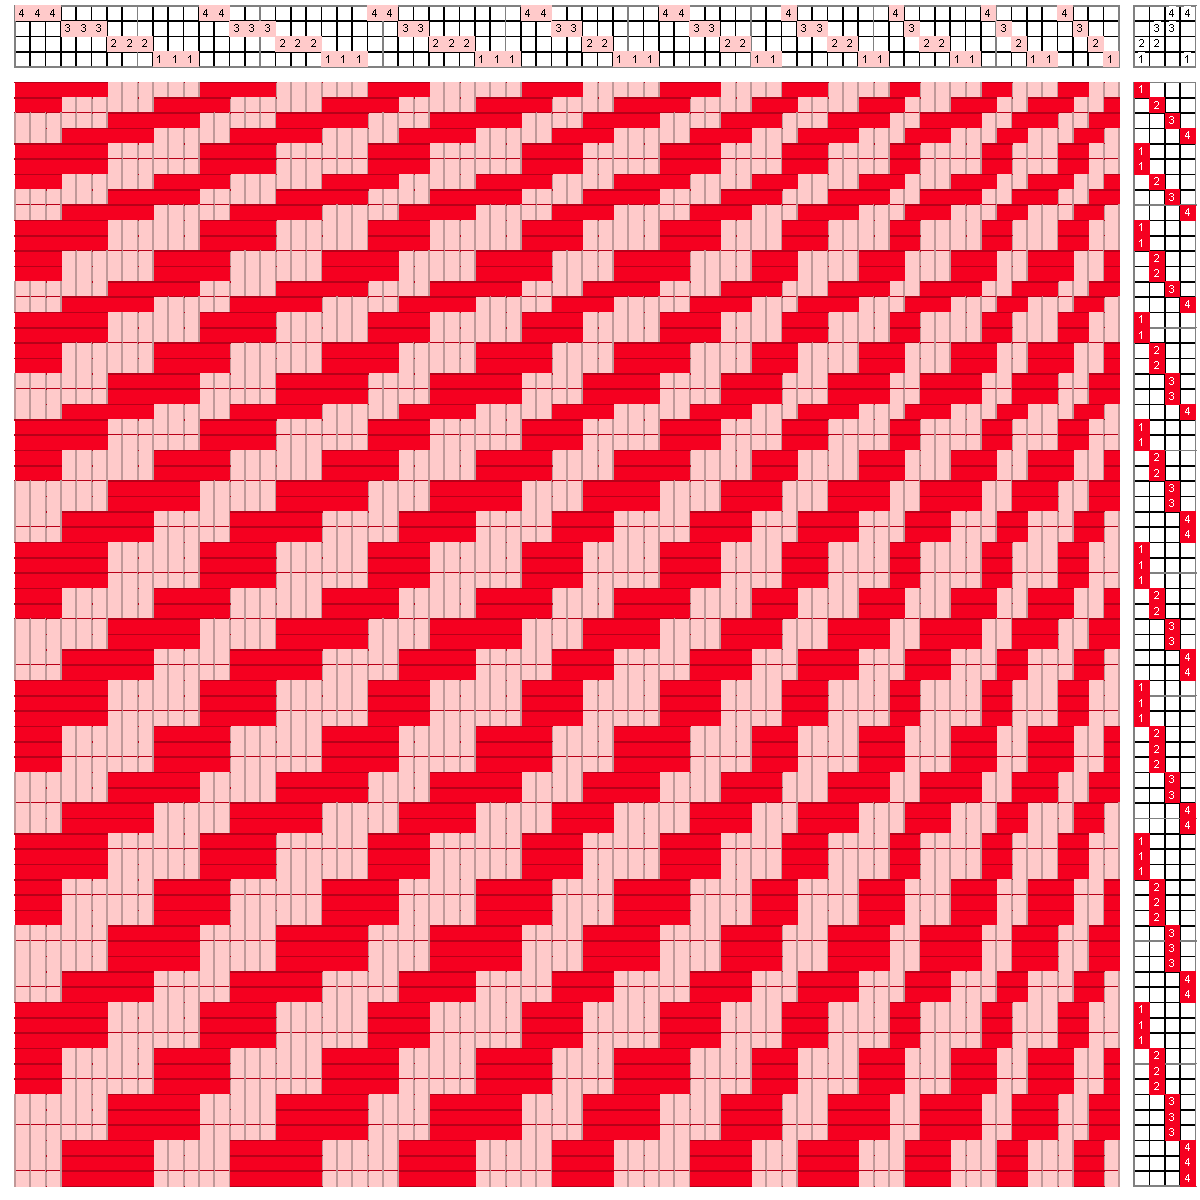
I have woven several samplers in color and weave for that seminar on Friday afternoon, each with several samples and I have written about some of them in previous blogs. This is my one of favorites, alternating red and black on a birds’ eye threading and treadling. I must have liked the motifs so much that I just discovered that the eight-shaft deflected double weave I am currently working on has similar motifs of crosses and boxes!

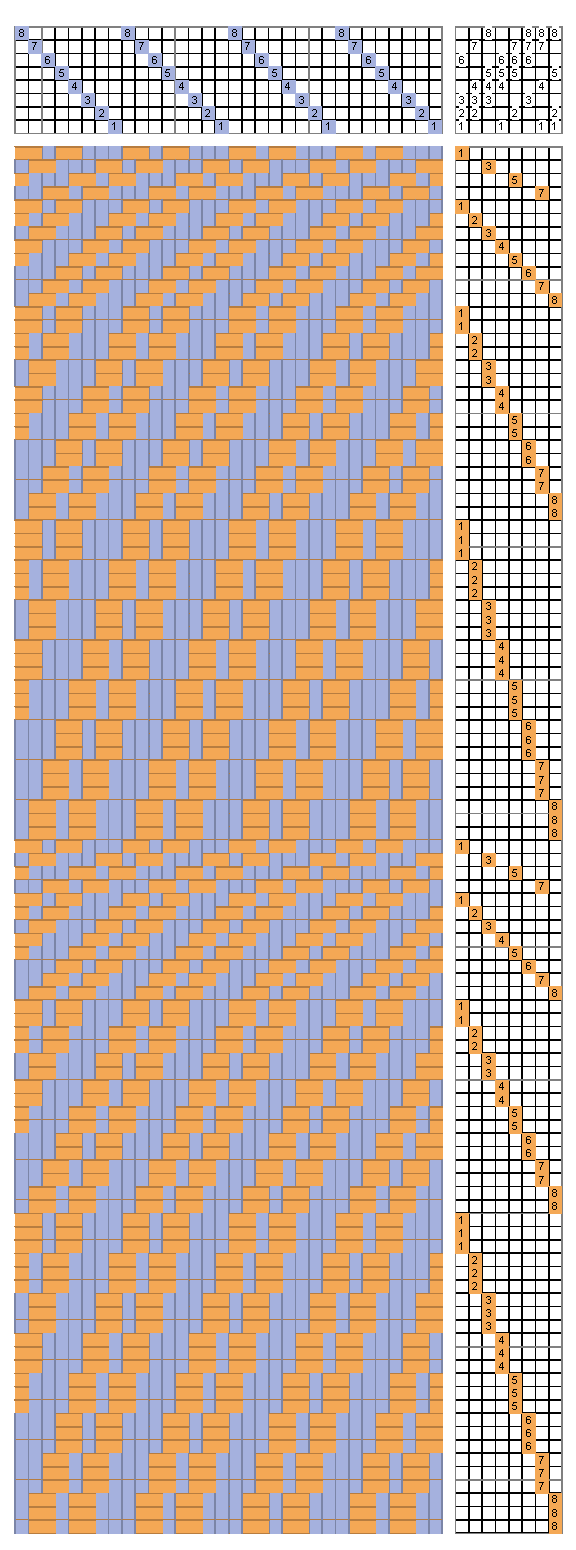
The studio on Saturday will be on Reinventing-Twills. I love twills, and I have written six previous blogs on them. Here is the simplest of twills, front and back, on thee shafts, where it all starts.

I will take a break from writing this blog as I get ready for Convergence®. I will resume after the conference, but on a monthly basis. I hope to see you in Milwaukee!
Please email comments and questions to
Four and Eight Shaft Twills II
Marcy Petrini
June 13, 2016
Last week (6-June-16 Blog) I compared undulating twills on 4 and 8-shafts, which I am including in my Convergence™ monograph; this week we’ll compare advancing twills.
Here is the drawdown for an advancing straight twill on four shafts. (Right-click on these drafts to get a larger version in a new window.)

The fabric is woven tromp as writ, so both of threading and the treadling are a bit complex. The repeat starts with a complete straight twill, but it doesn’t have to.
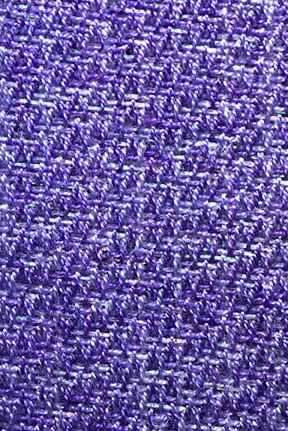
If we use a pointed twill as the starting point for the advancing, the treadling can be a straight draw as shown in the next drawdown.

The fabric for this twill doesn’t show the pattern very well, but the motif contributes to the complex way in which the light is reflected because the floats change direction repeatedly.
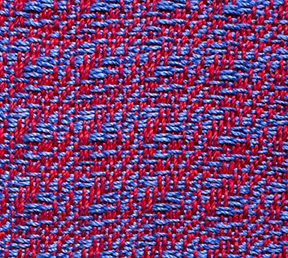
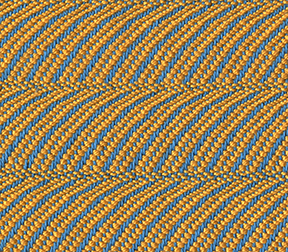
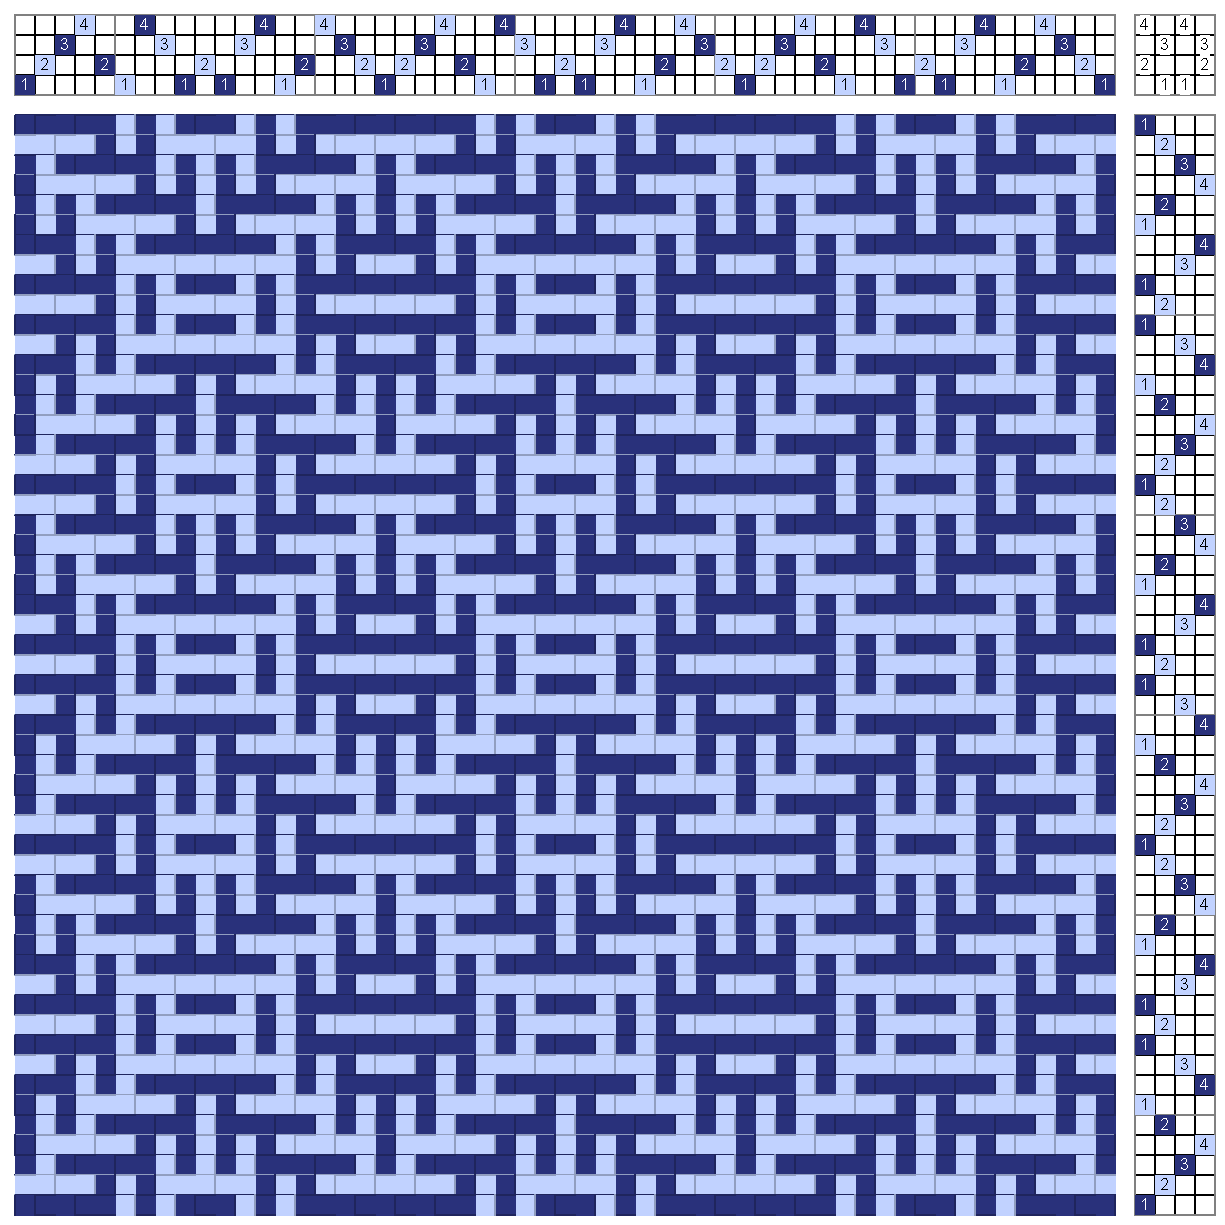
The next advancing twill is on eight shafts. From the drawdown, note that the threading is that of a straight twill and the advancing occurs in the treadling which is based on a pointed twill. Of course the advancing could be done on the threading as well. The eight shafts make it possible for the zig zag to be doubled with the floats interrupted by the warp.

The resulting fabric below shows the same characteristic mentioned for the four shaft twill, the light reflects as the floats change direction.
Whether on four or eight shafts, these twills have a level of complexity that results in interesting fabrics.
Please email comments and questions to
Four and Eight Shaft Twills
Marcy Petrini
6/6/2016
I preach that it would take more than one life time to weave all of the 4-shaft twills, let alone all the other structures possible on four shafts. Still, eight shafts offer more options, there is no disputing it.
I am in the process of writing about 8-shaft twills for my Convergence™ monograph and two twills caught my attention: undulating twills and advancing twills.
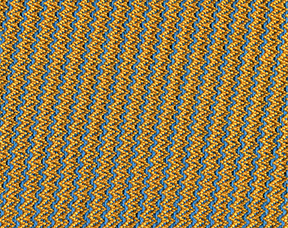
The blog of Dec 21, 2015 was on four shaft undulating twills. Below is another sample on four shafts. It was woven a bit differently than those previously described, as seen in the drawdown that follows. (Right-click on these drafts to get a larger version in a new window.)
The draft above shows one repeat of the pattern so that the threading and treadling can be read. The following drawdown has two repeats, showing the undulation more completely.

The fabric that follows is an undulating twill on eight shafts. Unlike the one on four shaft, this one was threaded on a straight draw and all of the undulating occurs in the treadling. Of course it’s possible to thread an undulating twill on eight shafts, but that sometimes is the advantage of more shafts: the threading can be simple and the treadling does all the work.
The drawdown below shows two repeats of the treadling for this eight-shaft twill; it looks complicated but it really isn’t because of its repetitive nature; the treadling on eight shafts is not any more complicated than the one on four shafts.
Regardless of the number of shafts, floats can be long with these twills, so careful planning is necessary.
Are more shafts worth it in this case? You be the judge, it’s a personal decision.
Next time, a similar comparison for advancing twills.
Please email comments and questions to
Shadow Weave II
Marcy Petrini
5/30/2016
In the blog of April 18, 2016, I talked about the unique characteristics of Shadow Weave: on one hand, it’s a Color and Weave, on the other hand, the motifs can maintain the look of the underlying weaving structure, usually a twill; this is generally not the case with the non-Shadow-Weave Color and Weave motifs, which tend to be optical illusions hiding the weaving structures that produce them.
I mentioned that I was weaving samples. Those are for the monograph on Color and Weave that I am writing for my Convergence™ seminar. So, here is a peak and another look at why Shadow Weave can be considered Color and Weave.
Below again is the drawdown from the April 18, 2016 blog: (Right-click on this draft to get a larger version in a new window.)
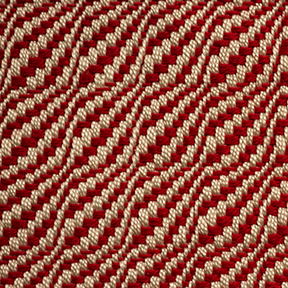
And here is the sample, wet finished after coming off the loom:

The staggered diamonds of the pointed twill are visible in the cloth, even more clearly than the drawdown. But zoning in close to the middle of one of the diamonds clearly reveals why this is a Color and Weave:
The solid lines that make up the motifs are not floats, as they are in a pointed twill, but are the result of the intersection of the same color warp and weft.
Powell’s book offers a life time of exploration for Shadow Weave. Maybe after Convergence I will be inspired to go back and try others……
Please email comments and questions to